
Introduction
When looking at the functionality of mobile apps, it’s clear that they aren’t that different than web applications. They often just serve as a frontend for the data stored on a central backend server or database. As such, if developers aren’t careful to protect these apps, many of the same vulnerabilities we find in standard web applications (such as injection attacks on unvalidated input) can be exploited by attackers.
This post will show how to setup the iPhone to work with the popular Burp Suite so that traffic from apps can be intercepted and tested for vulnerabilities.
Getting the CA Certificate from Burp
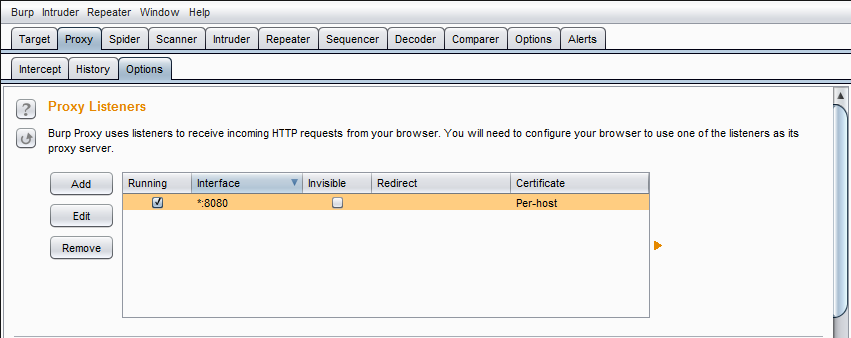
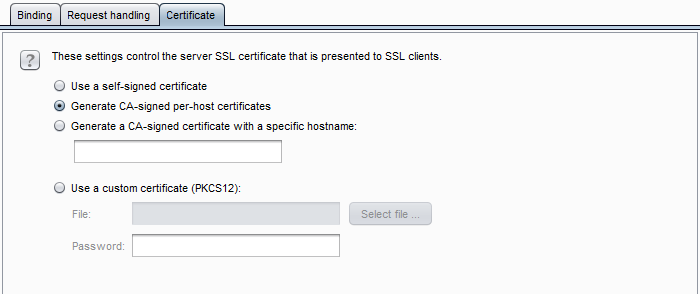
First, open up Burp, select the “Proxy” tab, and select the “Options” sub-tab. Then, under “Proxy-Listeners”, highlight the interface and select “Edit”. Then, open the “Certificate” sub-tab, and make sure it is set to “Generate CA-signed per-host certificate”. Since we will install the CA certificate on our iPhone, any certificate signed by Burp will be trusted.
Next, open up a desktop browser and set the proxy settings to use Burp. In this example, I’ll use Chrome. Change your settings so that the browser uses Burp as shown below (IP address and port may differ).

Then, go to a site using HTTPS (ie: google.com. Once the page comes up, click the icon in the left side of the address bar, select the “Certificate” sub-tab, and make sure that the certificate is signed by “PortSwigger CA”.
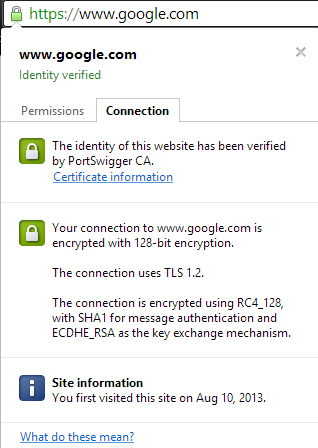
Next, click “Certificate Information”, and select “Certification Path” in the window that appears.
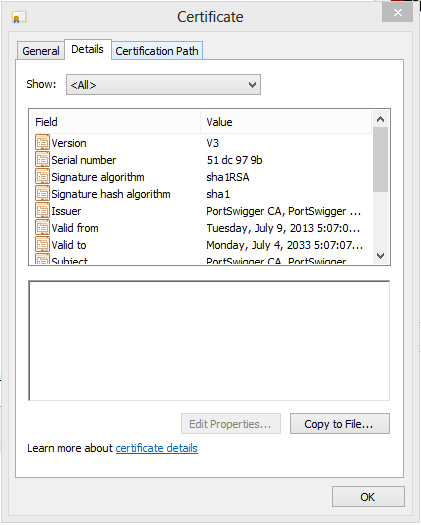
Highlight the root PortSwigger CA certificate and click “View Certificate”. Then, open up the “Details” tab and click “Copy to File”. Follow the Certificate Export wizard, making sure to save the certificate in DER encoded binary X.509 (.CER) format.
Once the certificate has been exported, we need to get it onto the iPhone. You can email it to yourself and open it in the iPhone, but I just chose to start a simple Python web server so that I could browse to the certificate as follows:
python -m SimpleHTTPServer
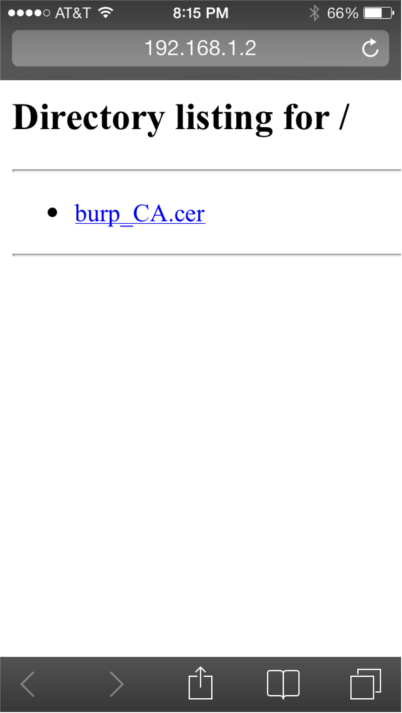
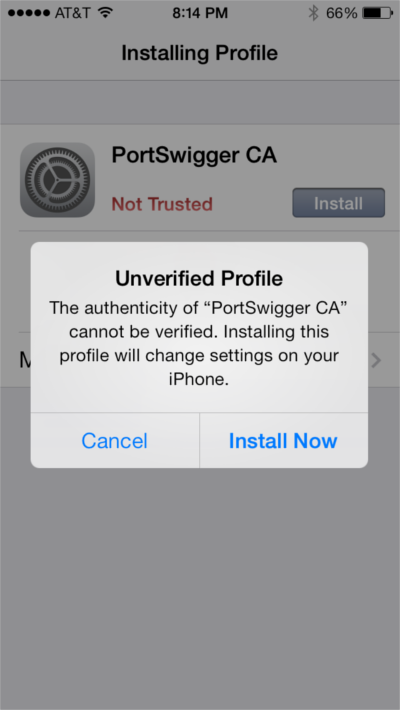
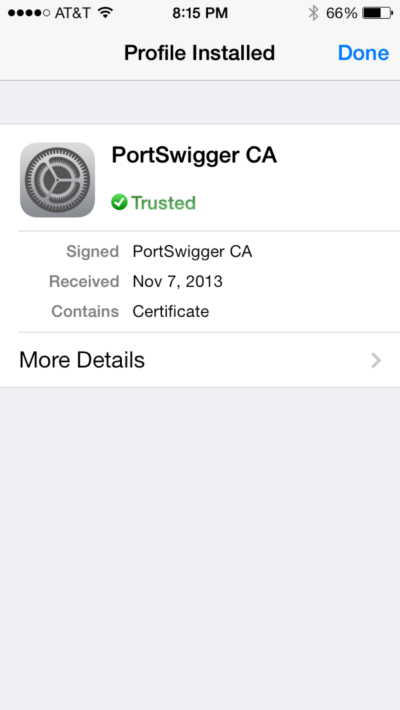
After opening the certificate link in Safari, the following screen will be presented asking you if you want to install the certificate. Click “Install”, enter your PIN, and you’re all set!
Setting the iPhone Proxy Settings
The last thing you will want to do is to set your iPhone to use the Burp proxy. You can do this by going into your wireless network settings and selecting “Manual” under “HTTP PROXY”. Then, just fill in the details!

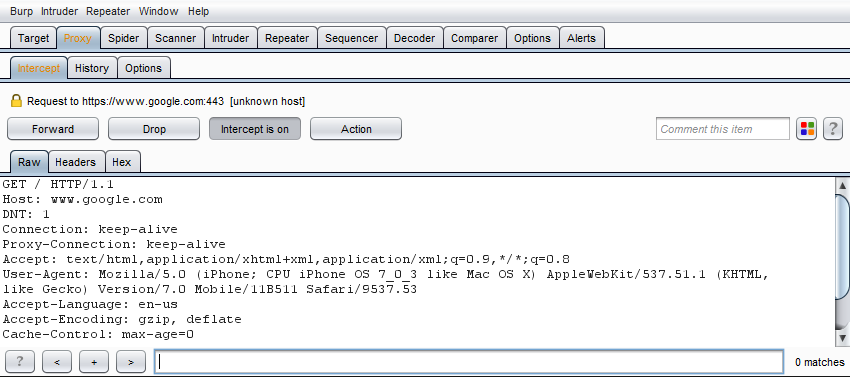
Testing
You can test to see if this works by navigating to Google in Safari. If you don’t receive an error, and you can intercept the request in Burp, then you’re all set!
As always, let me know if you have any questions or comments below!
Jordan (@jw_sec)